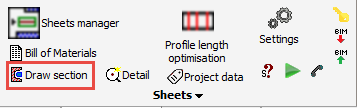
Draw Section
Command - (Prb_TagGroup "View Annotation")
This command will do different things depending on the space in which you start it :
- If you start this command from the 3D model, then it will create a new camera.
- If you start this command from a 2D sheet, then it will draw a new section view together with a camera in 3D. The new section view is connected to the new camera because the camera defines the viewpoint of the view.
The first point that you indicate will become the center of the camera.
The second point will determine the viewing direction as well as the depth of the view limitation.
Drawing the camera in the 3D model
The command will ask for two points, as indicated in the illustration :
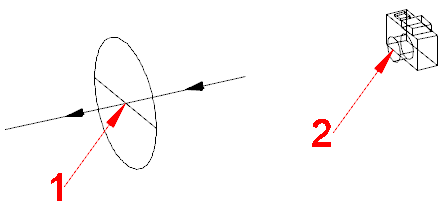
The center location (1) and the viewpoint location (2) of the camera as it is drawn in the 3D model.
Drawing a section view on a sheet
The command will ask you to indicate two points on an existing sheet. You should indicate them as in the illustration :
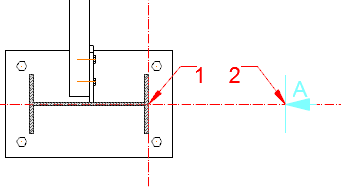
Where to indicate the center location (1) and the viewpoint location (2) for the new view in 2D.
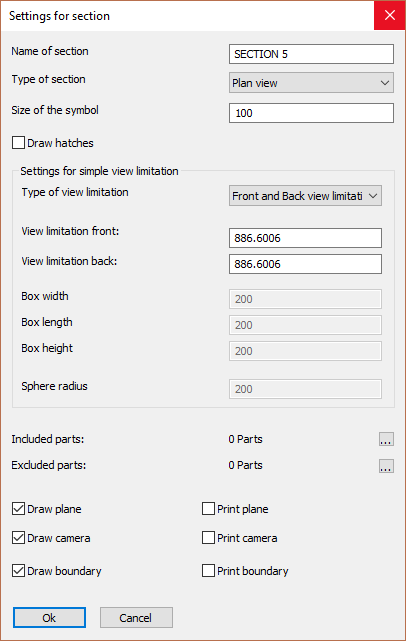
Name of section - This is the name for the new camera but also for the new view. This name should be unique for the 3D model. If you do not enter a unique name, Parabuild will make it unique automatically by adding a digit at the end of the text string.
Size of the symbol - This is the size of the camera's appearance in the 3D model : the camera and the circular plane.
Draw plane/camera/boundary - When active, the camera will be drawn on the 2D sheet. By default detail camera's are drawn on 2D sheets as a rectangle to indicate the boundary of the detail.
Print plane/camera/boundary - Same as above, but these options refer to printing.
For more information about the other options in this dialog box, see the Camera properties topic.