Add Cut to Macro
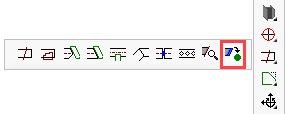
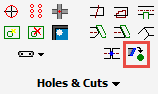
Command - PrB_AddMacroCut
With this command, you are able to add cuts to a macro. The advantage of this is that the cut will adapt automatically if one of the base profiles of the cut changes. Also the options of the cut can always be modified after the cut has been drawn, without the cut needing to be drawn again.
Activating the command, the following dialog will appear:
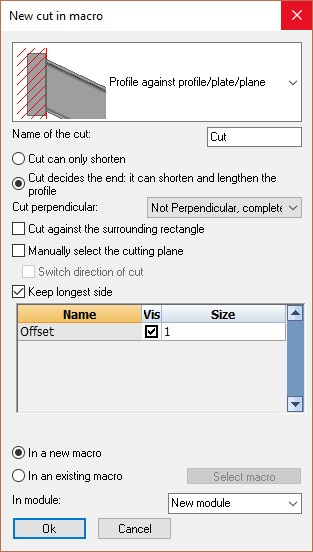
First of all at the top you must choose a type of cut, this will affect some options which are dependent on the type of cut chosen: The options include:
- Profile against profile/plate/plane: This is a straight end-cut against a profile or a plate.
- Miter joint: This is a miter joint between 2 profiles
- Cutout profile/plate: This cut cuts out the form of one profile in another profile or plate.
- Against plane with 3 segments: This cut is used for connections that have clearance cuts.
- Chamfer: With this cut we cut a chamfer from a profile using two distances. You must select two planes as a basis.
- Fillet: With this cut we cut a fillet from a profile using a radius. You must select two planes as a basis.
This is an explanation of the most important options :
- Cut can only shorten : This is explained extensively in the Cut against an element (shorten only) topic.
- Cut decides the end : This is explained extensively in the Cut against an element (shorten and extend) topic.
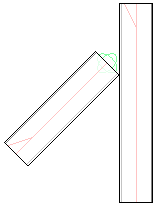
- Cut perpendicular : With this option you can force the cut to be fully or partially perpendicular to the profile's axis. Consider this example :
|
|
An end-cut drawn with the option Not perpendicular |
An end-cut drawn with the option Completely perpendicular |
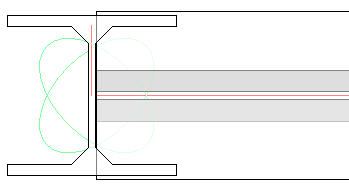
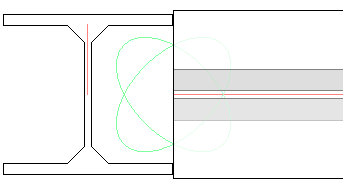
- Cut against the surrounding rectangle : Enable this for drawing a cut outside of the bounding box of the profile's section shape.
|
|
With Surrounding rectangle disabled, the tool will find the main face, which is the web of I and U shapes. |
With Surrounding rectangle enabled, the tool will create a bounding box around the section and will draw a cut against that box. |
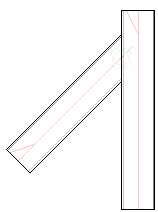
- Manually select the cutting plane : With this option you can manually select the cutting plane. This allows you to choose a plane that would not be possible to choose with the other options in this dialog box.
This is an example case for which this option can be used :
|
|
In orange you can see the plane that is being selected manually. |
The end result. |
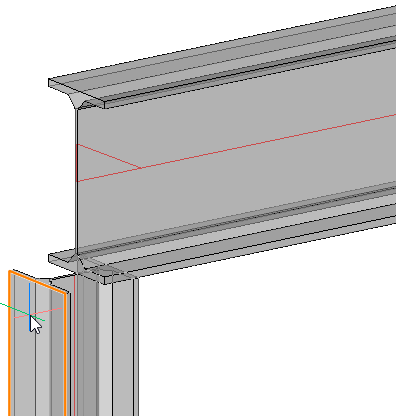
The desired result in this case is a cut that extends as far as the farthest plane of the determining profile. We can only achieve this by selecting this plane manually.
- Switch direction of cut : Do not use this unless if you are designing a new connection with geometric rules.
- Keep longest side : If you enable this, then the longest side will be kept in case the profile intersects the determining profile. Disable this if you are designing a new connection with geometric rules, and instead use the Switch direction of cut option which is safe for connections that will be smart-copied and arrayed.
At the bottom you will find the options In a new macro and In an existing macro.
Leave this on In a new macro, unless if you are designing a new connection with geometric rules.
As soon as you click on OK, you are asked to select the components or planes.
Afterwards the cut is produced and stored in a macro. You can revise the macro to modify for example the offset. If you remove the macro, the cut will remain but it will no longer be intelligent.