Create Dialog Boxes
Command - PrB_DlgDesigner

With this command you can create or edit a dialog box. Each dialog box will appear as one tab in the Review Macro dialog box if the dialog box was activated in a module.
This design dialog can also be opened directly from within the Review Macro dialog box. Just press the <F12> function key, and the dialog of the module that is currently active will be opened in the design dialog box.
To couple a dialog design with a macro/module, one should activate it in the macro. The option for doing this is in the General macro settings dialog, on the tab Module properties.
We will explore the capabilities of the dialog box :
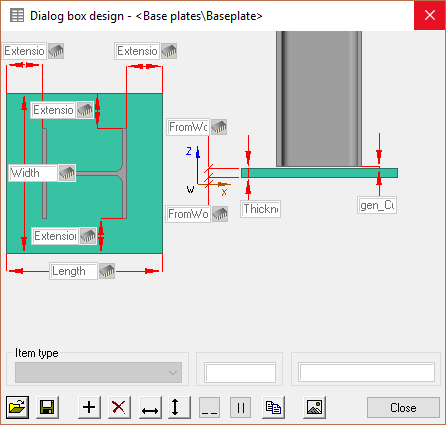
When you select a dimension control, then you will see 4 black squares. With these squares you can change the size of the control. You can also move the control by dragging it.
Also the properties of the control below in the dialog will become adjustable.
Enter a type (is it an ordinary dimension? A number of bolts? A profile’s section?).
In the second property you should enter the name of the dimension name, the name of the bolts pattern or a profile group.

 With these save/open buttons you can store the complete dialog box under a filename.

 Use these buttons to add or to remove a dimension control.

 Use these buttons to change the size of the selected dimension controls.
 In order to create a new dialog, one first needs to create a bitmap file (with extension .bmp).
Then the bitmap can be opened with this button. If you then add controls to the dialog and save the design with the button , then the dialog is created.

 Use these buttons to make 2 or more controls coincident horizontally or vertically. This is very practical to align a flex/fix button with it's edit control.
 This button will copy all of the currently selected controls.