Floors
Command - Prb_CreateProfFloors

Activating this command will open the Select profile dialog - where you will be prompted to select a flooring profile.
Floor types are divided into 4 groups:
|
|
|
|
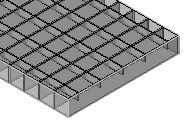
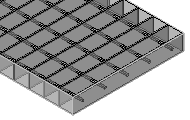
Press Lock Bar Grating |
Welded Bar Grating |
Swage Lock bar Grating |
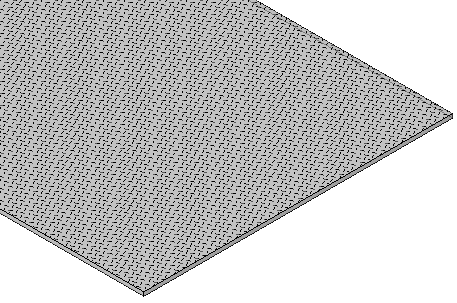
Raised Pattern Floor Plates |

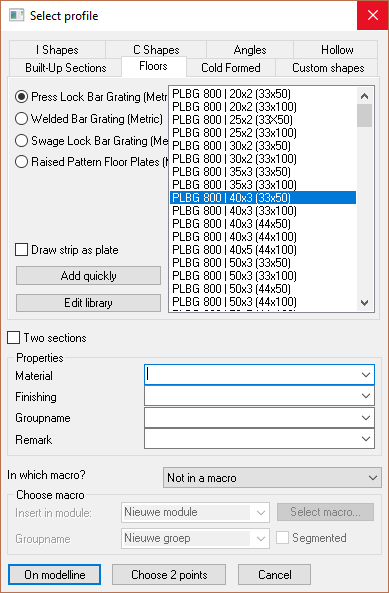
From this dialog you may select the required flooring type by selecting the appropriate radio button - the column to the right will display the value tables applicable to the selected floor type.
The value table will display the floor panel characteristics which may be interpreted thus:
PLBG 800 | 40x3 (33x50)
PLBG = Floor panel type - in this instance, Press Lock Bar Grating
800 = Standard panel width
40x3 = The bearing bar size
(33x50) = the grating opening size. 33 = the bearing bar centers, while the 50 = the transversal bar spacing
Draw Strip as plate - activating this checkbox will draw the floor panel as a plate (see Convert strip / plate)
Adding and Editing floor panels in the library
Custom Floor panels may be added to the library by clicking the Add quickly button in the Select Profile dialog which will open the Add profile dialog
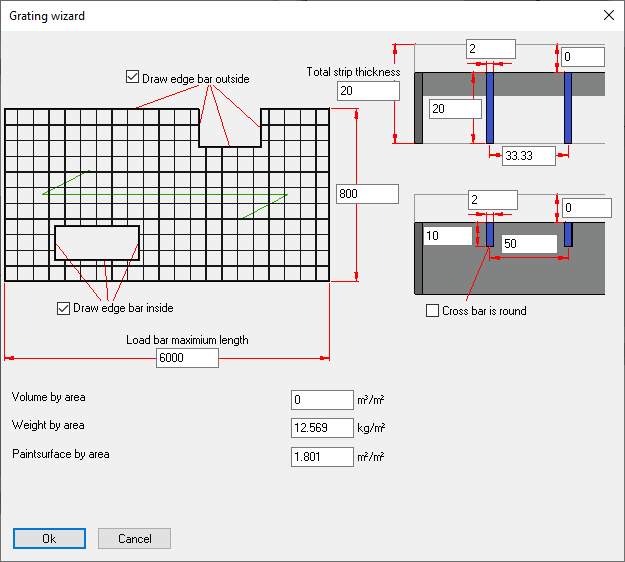
This function will add a new profile to the active Value Table.
Edit Library
This function will open the Edit profile library dialog where the properties of specific floor panels may be edited.
For more information on editing the library, you can read the Editing the profile library topic.