Shop Bolts
By default, all bolts are designated as 'Site Bolts'. To convert them to 'Shop Bolts', one can use the Bolt properties panel : 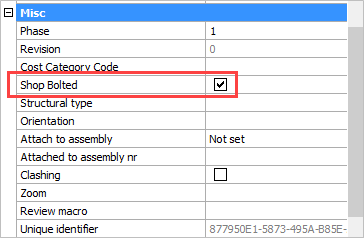
The bolt(s) will be drawn as part of the assembly drawing, and will appear on the Bill of Materials of the assembly drawing.
This property will also influence the number of the assembly.
It's possible to influence which assembly the bolt is attached to.
Influencing which Assembly a Bolt is attached to
A bolt is always attached to one reference assembly, even if it connects 2 or more assemblies together.
We call this the reference assembly of the bolt. This reference assembly is important, because it will determine on which assembly drawing the bolt will appear. (a bolt will never appear on 2 assembly drawings to avoid counting the bolt more than once)
A priority list that determines which assembly the bolt is attached to, can be changed in the Document generation Settings dialog :
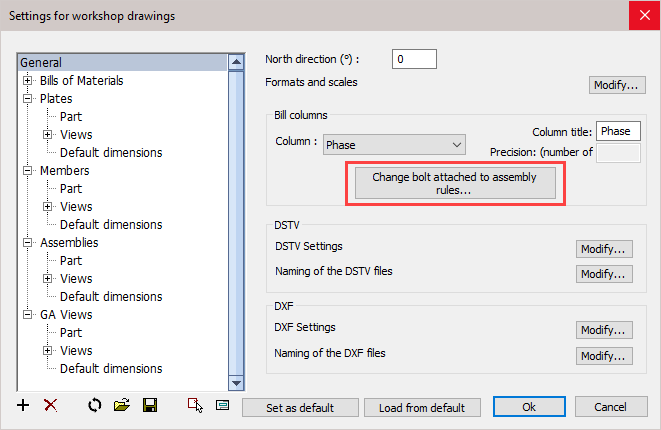
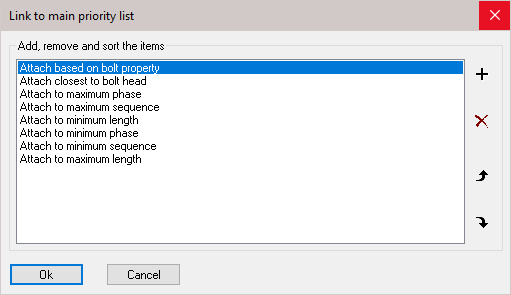
With this priority list you can influence the automatic assignment of reference assembly of all bolts - the list is ordered according to priority.
You can add, delete, and sort all items in the list :
In exceptional cases where the automatic choice taken by Parabuild is not as desired, it is still possible to manually set the reference assembly in the properties of the bolt:
Attach to assembly - In this property we can choose the assembly from the drop-down menu: Closest to bolt head or Closest to Bolt end
This will effectively override the main priority list
Attached to assembly nr - This will indicate to which assembly the bolts are attached
