Truss
Command -
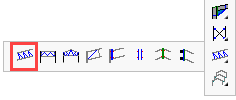
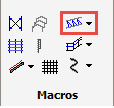
Activating this command will open the Truss dialog, from which you may choose a configuration.
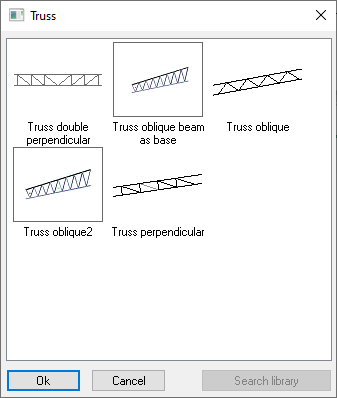
The truss options include:
Draw a Truss on a line
After clicking on Ok, just select the model line and the complete truss will be drawn on top of it.
Draw a truss by indicating 2 points
At the command line prompt you will be prompted to Select the line that will determine the location of the parts, or <Enter> to draw a new line :
If there is no preexisting line, press <Enter> and you will be prompted to indicate the first and second points of the line, after which the default truss will be drawn.
Some information about the truss
The line will determine the length and position of the top chord of the truss, it may be drawn between columns, beams, or independently in space, depending on its function and how it is to be supported.
The location of the top chord relative to the line is determined by the Section displacement which may be set from the Profile placement dialog. By default, all profiles forming the truss are set to Middle. This means that all the truss component members are set so that they intersect at their geometric centers eliminating eccentricities at the joints and is considered to be the optimum configuration for efficient load distribution.
Altering the Profile placement will alter the truss geometry. If this is not desirable, then the line should (In the instance of connecting to columns) be placed below the column cap at a distance of 0.5 x the depth of the top chord ensuring the top of column = top of truss.
Likewise, the depth of the truss is determined by the same geometry.
Add truss end-connections
You can select bolted connections for connecting the truss chords to the columns from the Connections menus
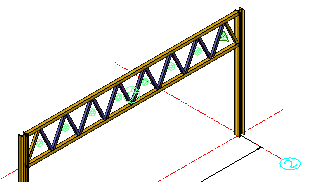
Truss double perpendicular
Truss oblique beam as base
This is the same as Truss oblique2, except the base of the entire truss will not be a line but it will be the top chord itself.
So for this truss the top chord will need to be adapted to determine the truss's size and location.
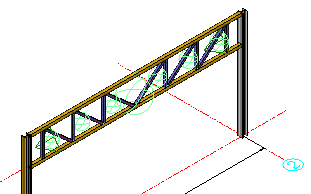
Truss oblique
Truss oblique2
Unlike most other trusses, when the top chord of this truss is sloped, then the bottom chord will always remain horizontal.
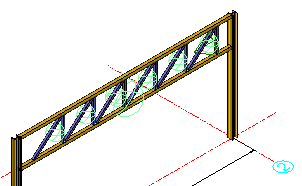
Truss perpendicular
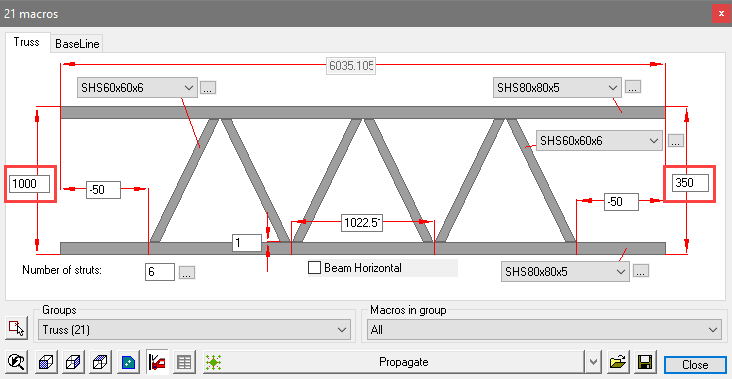
The macro edit dialog for Trusses
The edit dialog will vary according to the chosen truss, but the general principles will apply to all.
Here you are able to change the number of struts, truss depth, and profile types and sizes. The length of the truss is predetermined by the model line.
The truss is made up of a number of macros, each of which may be edited individually. Activate the Review macro command and indicate the green sphere of the macro that you want to modify individually.
The geometry of the truss is determined by the Profile placement. This can be accessed by clicking on the button  next to the profile size drop-down.
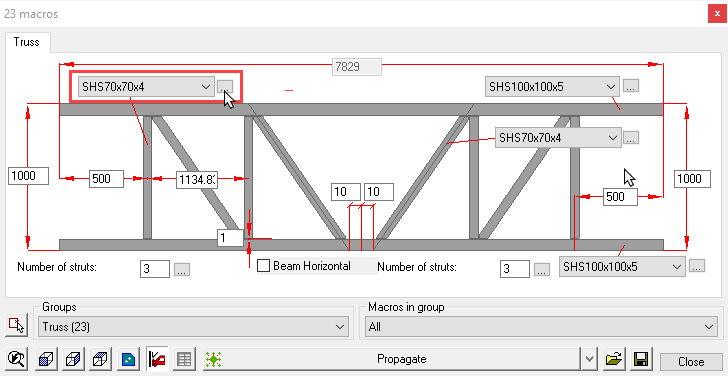
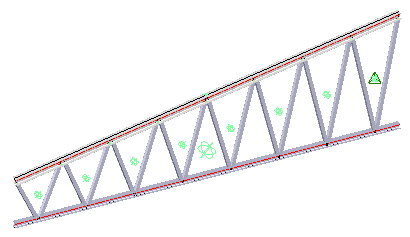
Note The top and bottom chords do not have to be parallel. The slenderness of both chords may be changed with the two depth options.
In the example below, the truss depth will be 1000 at one end - sloping to 350 at the other.
Making both ends the same will give a parallel truss.
Checking the Beam Horizontal checkbox will override the dimension differential.